Launching a Dedicated Server
This guide explains how to package and launch a dedicated server for your Unreal Engine game. You will use Unreal Engine's Project Launcher or Project Packager to create the server executable, followed by configuring and starting the server with the appropriate parameters.
Prerequisites
- SteamCore PRO plugin installed and enabled in your Unreal Engine project (if using Steam integration).
- A configured
DefaultEngine.inifile with server settings (refer to SteamCore Setup Documentation). - Steamworks integration with a valid Steam App ID.
- The project packaged as a dedicated server build.
Information
- Before launching, you must package your dedicated server application using Unreal Engine's Project Launcher or Project Packager.
- Once you have the server executable (e.g.,
ProjectServer.exe), you can proceed with the examples below.
Additional Parameters
- Refer to the Additional Launch Parameters Guide for optional settings to customize server behavior.
Packaging the Project
- Follow the official Unreal Engine documentation for packaging your project: Packaging Documentation.

Steps
- Open your project in the Unreal Editor.
- Go to File > Package Project > Packaging Settings.
- Configure the packaging settings for a dedicated server build (e.g., select "Server" as the build target).
- Use the Project Launcher to create the package, specifying the output directory.
Launching the Server
After packaging, locate your server executable and set up a shortcut to launch it.
-
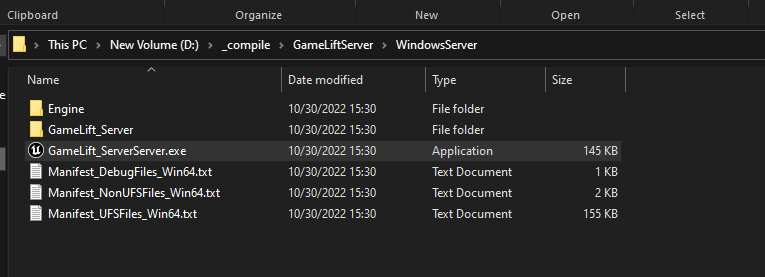
Locate the Executable:
- Find your server executable (e.g.,
GameLift_ServerServer.exe) in the packaged output folder. The exact name depends on your project name.
- Find your server executable (e.g.,
-
Create a Server Shortcut:
- Right-click the executable and create a shortcut.
- Append the
-serverand-logparameters to the Target field to enable server mode and log output.
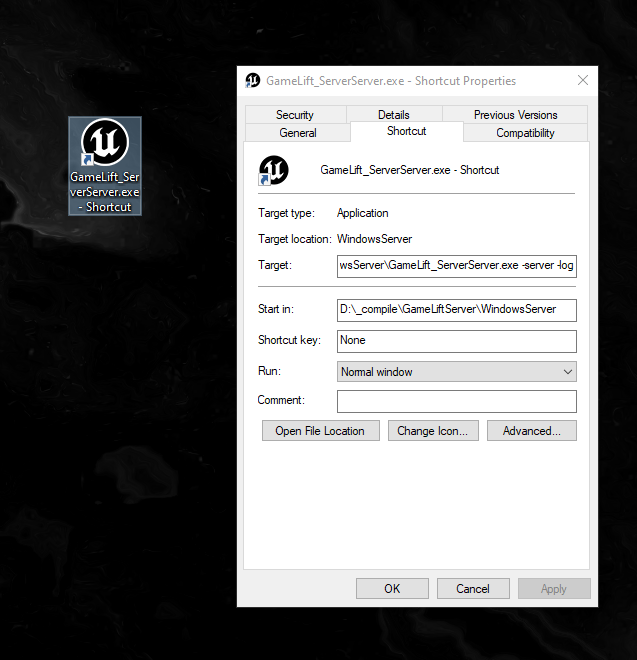
Example Target Path:
D:\_compile\GameLiftServer\WindowsServer\GameLift_ServerServer.exe -server -log- Update the path to match your project’s executable location. The example above is specific to the
GameLiftServerproject.
-
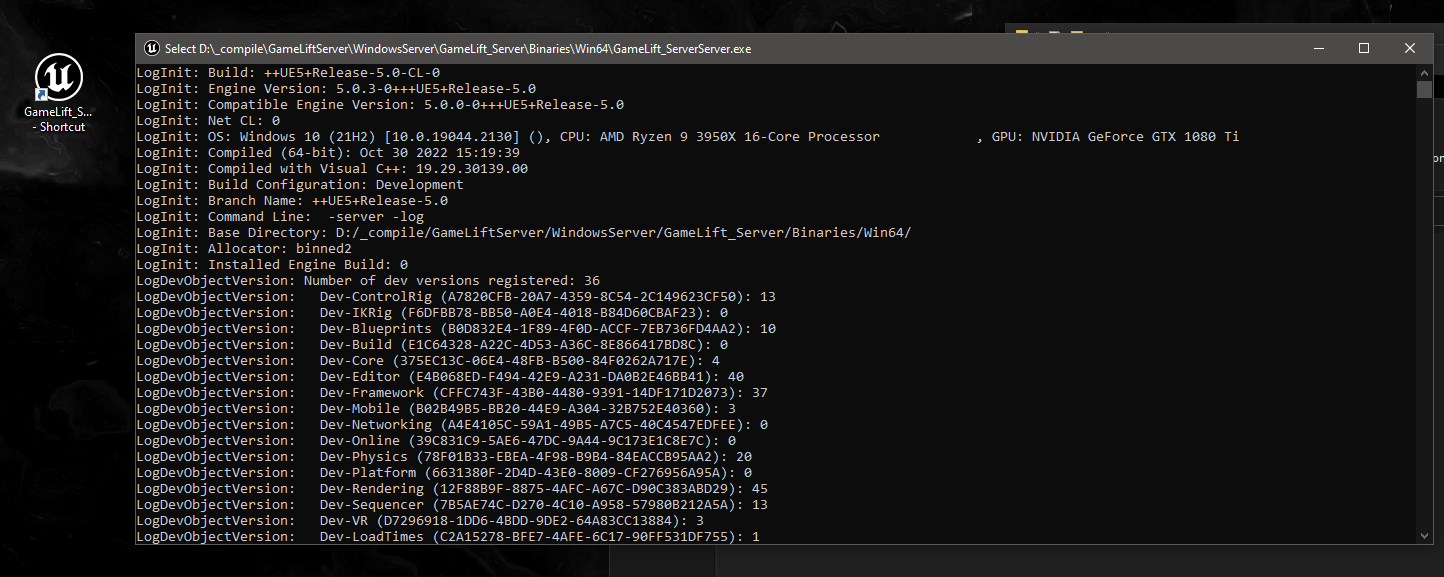
Start the Server:
- Double-click the shortcut to launch the server.
- The server will start, and log output will be displayed in the console window.
Notes
- Logging: The
-logparameter generates a log file in theSaved/Logsdirectory (e.g.,YourProject.log) for debugging. Ensure sufficient disk space. - Testing: Test the server launch in a development environment to verify connectivity and log output.
- Additional Parameters: Use parameters like
-Port=7777(see Additional Launch Parameters) to further configure the server.